Setup nstal with Next.js and MDX
This tutorial explains how to create a nstal-enabled blog using Next.js and MDX. In a few minutes, you will be able to write your own nstaller, just like the one you're reading.
Run this command from an empty directory:
Create the app
Create your Next.js app.
Run the commands:
npx create-next-app --eslint --js my-nstal-and-mdx-blogcd my-nstal-and-mdx-blogSetup Chakra UI
Chakra UI is a components library for React. Why do we need it?
nstal's primary package is @nstaldev/react-core.
This is what you are going to use to write your nstallers.
It comes with components such as CreateFile, which is the action to, well, create a file.
But how should it be rendered? Do we need a particular font? Rounded corners? How are the CSS provided?
In order to make nstal UI-agnostic, @nstaldev/react-core relies on external components,
provided at runtime. The mechanism is similar to MDXProvider's.
This is where @nstaldev/react-components comes in. This package fulfills react-core expectations
so you can use all actions and related components out of the box. And because @nstaldev/react-components
is based on Chakra UI, this library must be setup too. As an alternative, we could re-write these components,
using whatever libraries we like.
Install Chakra UI and related packages:
Run the command:
yarn add @chakra-ui/react @emotion/react@^11 @emotion/styled@^11 framer-motion@^6Make sure Chakra UI is available in the app.
Populate pages/_app.js with:
import '../styles/globals.css'

import { ChakraProvider, Container } from '@chakra-ui/react'

function MyApp({ Component, pageProps }) {
  return (
    <ChakraProvider>
      <Container>
        <Component {...pageProps} />
      </Container>
    </ChakraProvider>
  )
}

export default MyApp
Visit Chakra UI doc for more options, such as custom theme.
Setup MDX
The optional MDX packages need to be installed.
Run the command:
yarn add @next/mdx @mdx-js/loader @mdx-js/reactConfigure MDX so .mdx files are treated as MDX files.
Populate next.config.js with:
/** @type {import('next').NextConfig} */

const withMDX = require('@next/mdx')({
  extension: /\.mdx?$/,
  options: {
    remarkPlugins: [],
    rehypePlugins: [],
    providerImportSource: "@mdx-js/react",
  }
})

module.exports = withMDX({
  // Append the default value with md extensions
  pageExtensions: ['ts', 'tsx', 'js', 'jsx', 'md', 'mdx'],
})
We embed the whole app in an MXProvider to override h1 and make sure titles are properly displayed.
Populate pages/_app.js with:
import '../styles/globals.css'

import { MDXProvider } from '@mdx-js/react';
import { ChakraProvider, Container, Heading } from '@chakra-ui/react'

function MyApp({ Component, pageProps }) {
  return (
    <ChakraProvider>
      <MDXProvider components={{
        h1: (props) => <Heading as="h1" fontSize="2xl" {...props} />
      }}>
        <Container>
          <Component {...pageProps} />
        </Container>
      </MDXProvider>
    </ChakraProvider>
  )
}

export default MyApp
Setup nstal
Install nstal packages.
Run the command:
yarn add @nstaldev/react-core @nstaldev/react-componentsWrite our nstaller
We are going to write the smallest nstaller ever and make it grow.
Hello nstal world
The most basic nstaller is wrapped in an Nstaller component.
This Nstaller needs components to render the various elements.
Populate pages/my-first-nstaller.mdx with:
import { Nstaller } from '@nstaldev/react-core'
import { NstalReactComponents } from '@nstaldev/react-components'

# A minimalist nstaller

export default ({ children }) => (
  <Nstaller components={NstalReactComponents}>
    {children}
  </Nstaller>
)
Let's make sure it works.
Run the command:
yarn devShow time!
Open http://localhost:3000/my-first-nstaller in another tab
A static tutorial
Apart from the plumbing, our first nstaller is just a Markdown title.
Let's write a real tutorial, which simply asks the reader to create a file.
Instead of writing an English sentence, telling the reader what to do,
we are going to use an nstal action. In this case, CreateFile.
This component expects a file name and its content.
Populate pages/my-first-nstaller.mdx with:
import { Nstaller, CreateFile } from '@nstaldev/react-core'
import { NstalReactComponents } from '@nstaldev/react-components'

# Create a file

As this nstaller is a demo, we are just creating a file.

<CreateFile
  path='README.md'
  content='Hello nstal!'
/>

export default ({ children }) => (
  <Nstaller components={NstalReactComponents}>
    {children}
  </Nstaller>
)
Now the nstaller looks like a classic tutorial:
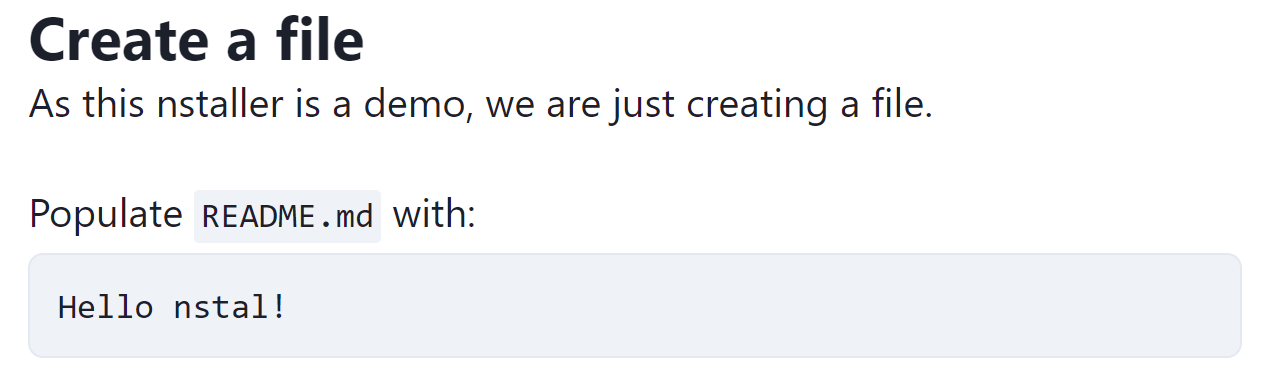
We can see that the CreateFile component was turned into human-readable, styled instructions.
It's okay, but not very useful yet.
Connect!
It's time to enable the magic. An nstaller becomes useful when it can run the instructions.
For this, we need to provide a Connector.
Populate pages/my-first-nstaller.mdx with:
import { Nstaller, CreateFile, Connector } from '@nstaldev/react-core'
import { NstalReactComponents } from '@nstaldev/react-components'

# Create a file

<Connector />

As this nstaller is a demo, we are just creating a file.

<CreateFile
  path='README.md'
  content='Hello nstal!'
/>

export default ({ children }) => (
  <Nstaller components={NstalReactComponents}>
    {children}
  </Nstaller>
)
The nstaller now has a blue box, asking to run npx nstal:

When viewing our nstaller, we might get an error with a big red box.
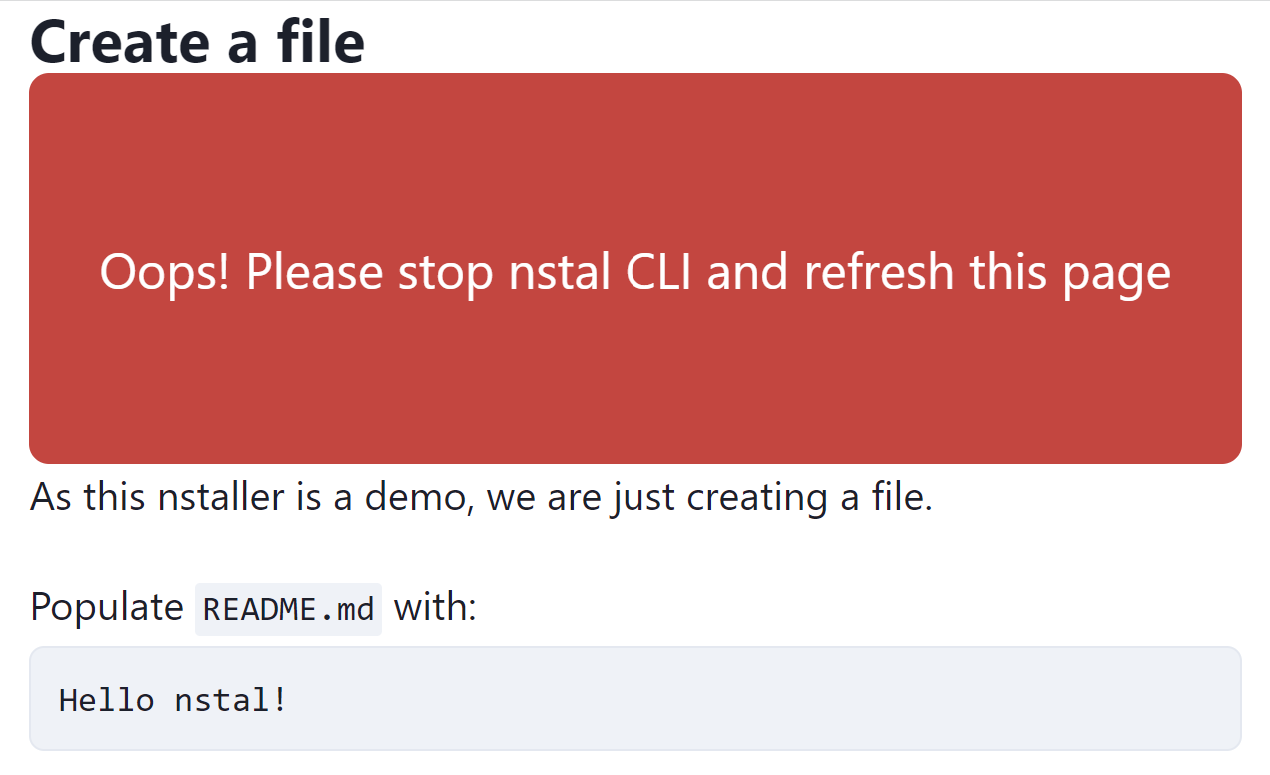
This is because we are doing something quite unusual: build an nstaller while running another one (this one). Someday nstal will handle this situation but for now we need to live with it.
Now, the reader has two options:
- Follow the tutorial as a classic, static document.
- Start nstal in order to automate the process.
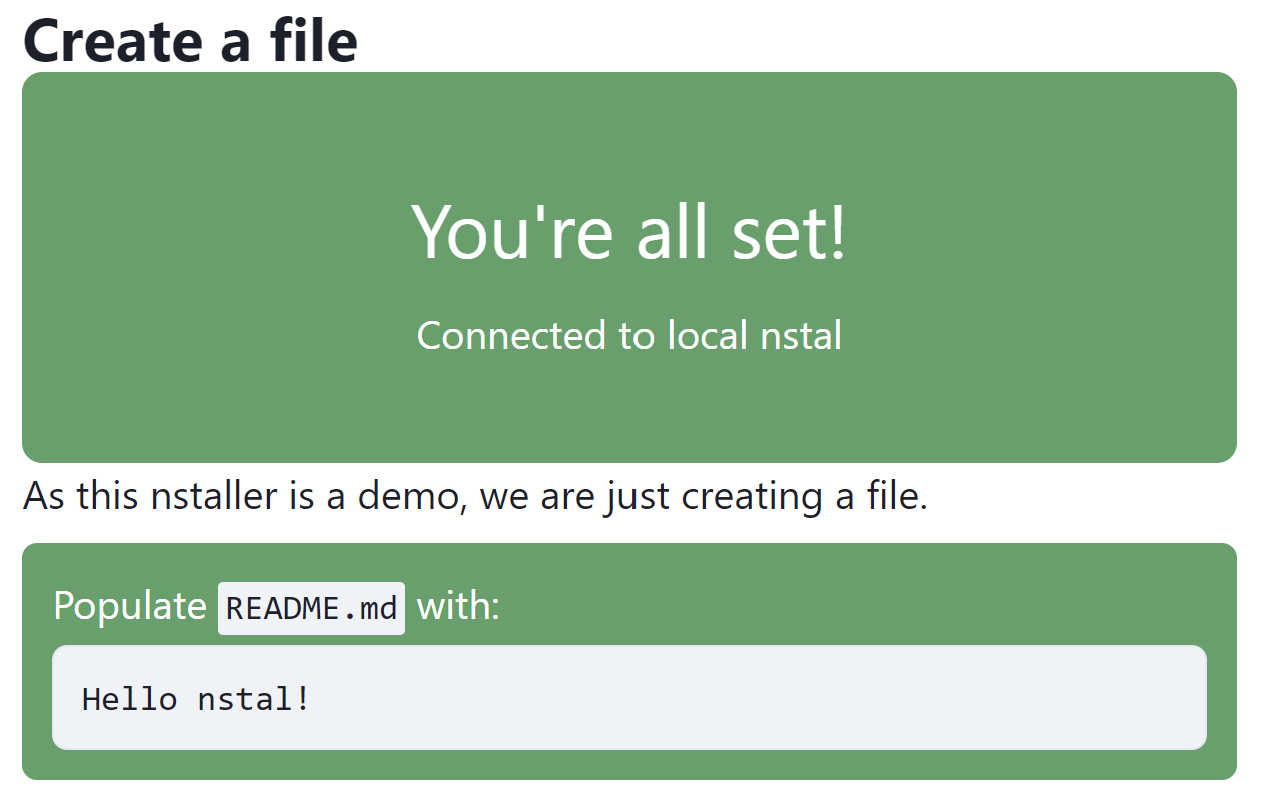
Let's connect. Run the command provided by our nstaller in an empty directory. After a few seconds, the nstaller is connected:

Click the Run button:
Take a look to the directory where you run npx nstal: it contains README.md with the expected content.
Conclusion
We've just setup nstal and wrote our first nstaller! Although small, it demonstrates what we can achieve with nstal.
There are other actions with could use to build more complex nstallers: RunCommands, VisitLink...
We could also have used Milestone to display an element only when we have run actions before it.
The project is in its infancy:
- Breaking changes are expected
- Security is a concern, as a malicious nstaller could run arbitrary commands.
- Many actions are missing
- ...
However, nstal could become a brand new way to write and consume tutorials and installation procedures. To keep in touch, follow nstal on Twitter.